
Take control
The idea behind cryptocurrencies, like Cardano, is that you do not have to trust any central institution, like a bank. Or, in terms of cryptocurrency: a centralized exchange!
If your ADA is currently sitting on a centralized exchange like Coinbase, Binance or Kraken, you do not actually own your ADA. If something happens to the exchange, you can lose your ADA.
Luckily, it’s pretty easy to create your own wallet to hold your own ADA. This is the digital equivalent of holding dollar bills in your wallet, only you can lose them!
Furthermore, by holding your ADA in your own wallet, you can delegate your ADA to a stake pool, and earn interest on it! Both creation of a wallet and delegating to stake pool will be explained on this page. Click here for more background on the how and why of staking.
Install Yoroi
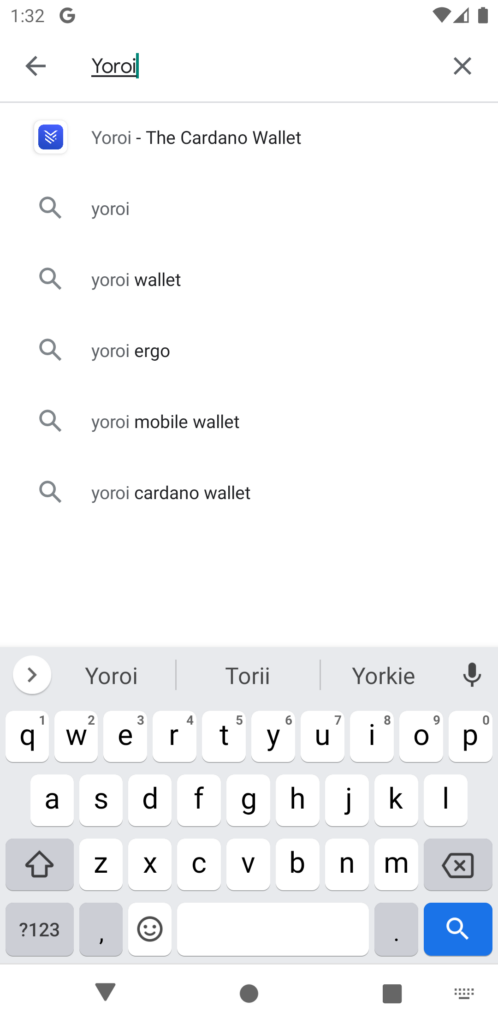
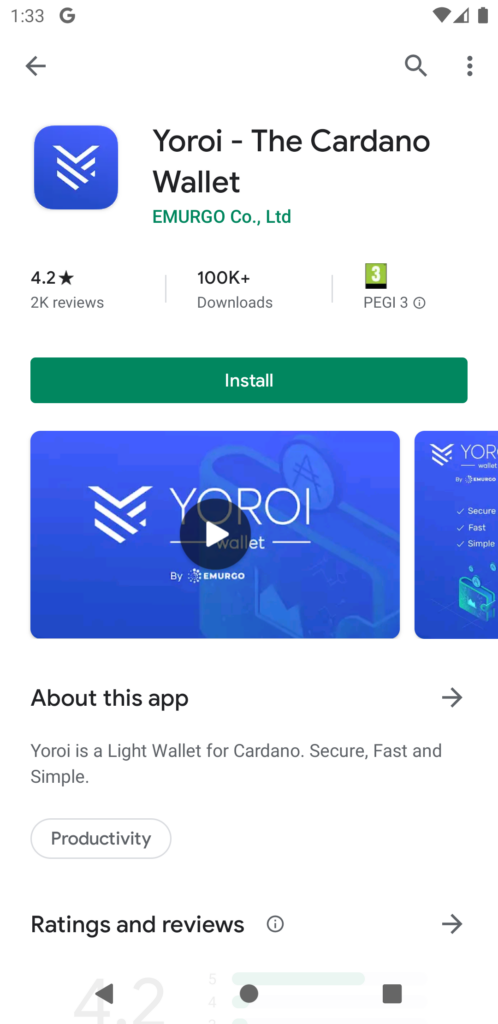
You can get Yoroi for Android, iOS, Chrome, Edge or Firefox.
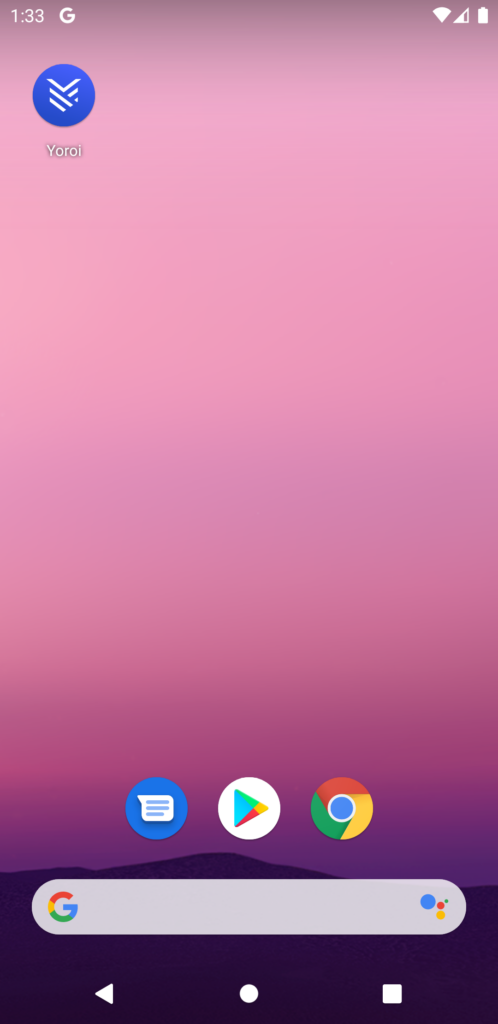
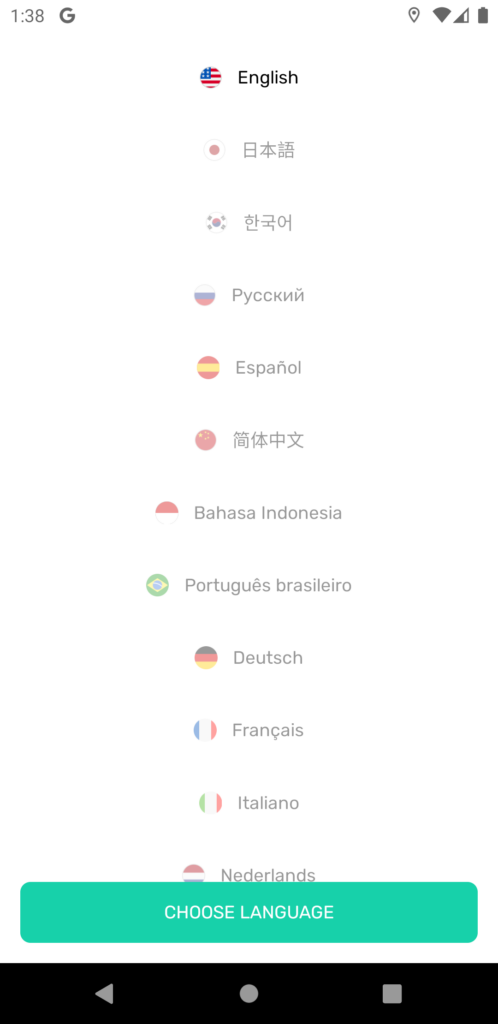
Instructions below are based on Android. Search for Yoroi in the Play Store, then install and open Yoroi. You will be greeted with a screen to choose your language.
Create a wallet
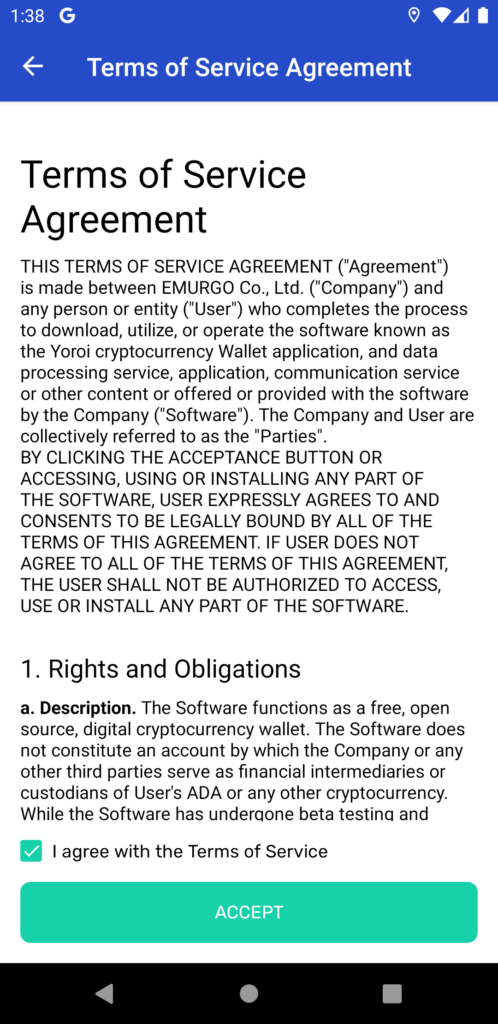
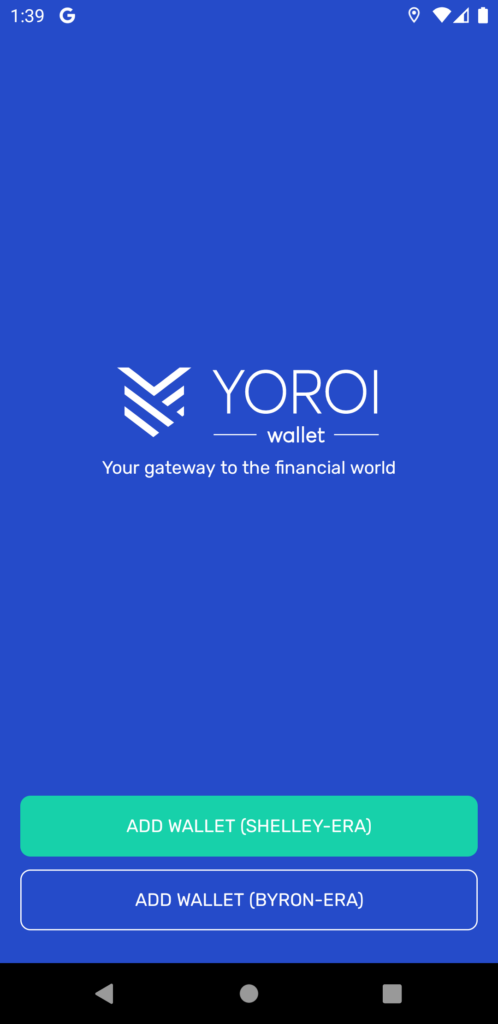
After accepting the terms and conditions, you will have the option to create a wallet. Create a wallet of Shelley-era type. This is the newest wallet type. All Cardano addresses of any wallet type are interoperable, but the technical details underpinning the wallet types are different. Cardano keeps evolving.
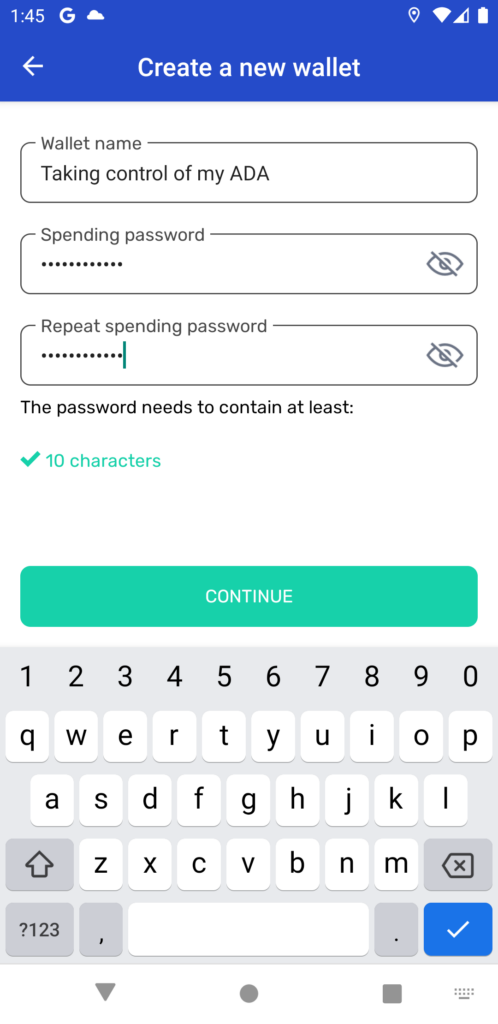
You will be asked to create a PIN and password (on Desktop). You will be required to enter your PIN to view your balance. Any transactions made require you to enter your spending password.


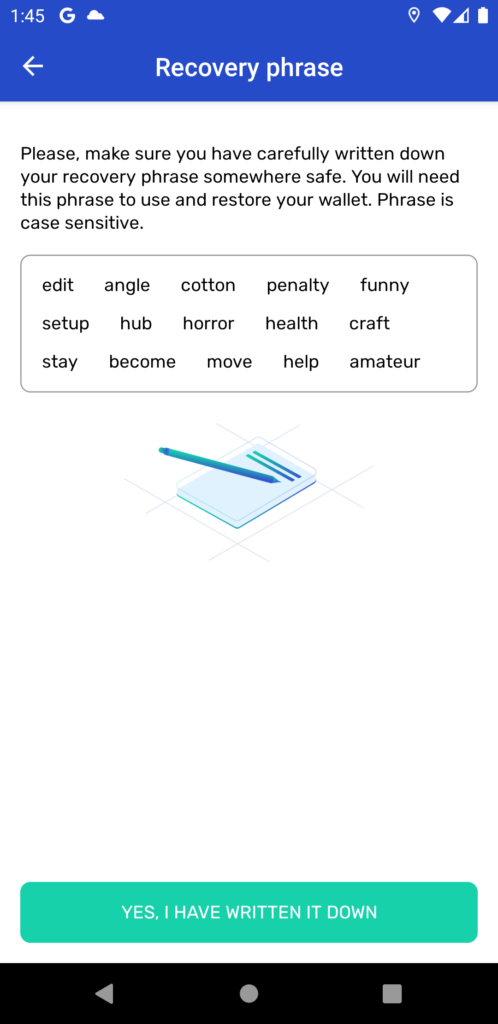
After entering your spending password you will be presented with your recovery phrase. It is VERY IMPORTANT you write this down somewhere safely. Think of your Yoroi wallet as a safe you have in your home. The recovery phrase is key which can always access your safe. If your phone gets damaged or stolen and you lose access to Yoroi, the only way to recover is by using this recovery phrase.
Please make sure to leave instructions for your loved ones or someone you trust in case of your death. This might sound serious, but nobody will be able to access your funds if you pass away without leaving someone instructions on how to recover your wallet.
After writing down the phrase, you will be asked to confirm it.
After creating your wallet, you will be shown your wallet. It will not have any funds yet. So the next step is to transfer some funds to your wallet.
Receiving funds
Click on Receive within Yoroi. You will be presented with a receiving address. A single wallet can have any number of addresses attached to it. You will be presented with an address automatically. You can use this address to receive ADA in your wallet.

Navigate to the cryptocurrency Exchange where you have purchased your ADA. Look for the option to withdraw your coins. In Binance, you can find this under Wallet, Fiat and spot, then look for Cardano and click Withdraw.
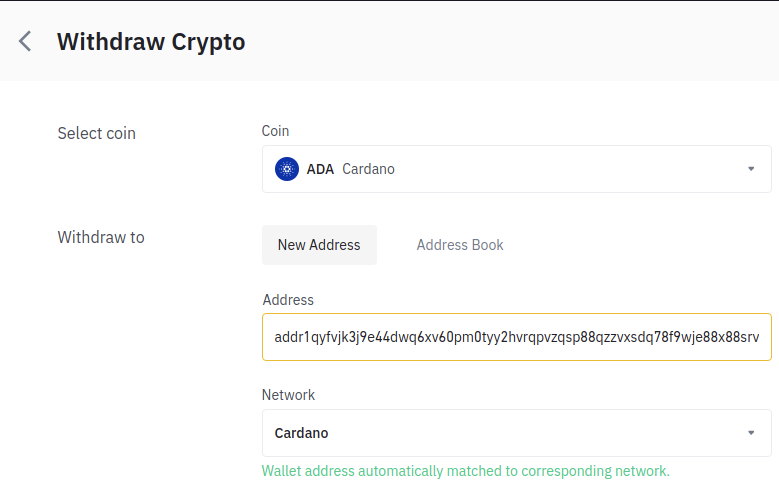
You then paste a receiving address of your wallet and specify the amount you would like to withdraw.
You are in control now
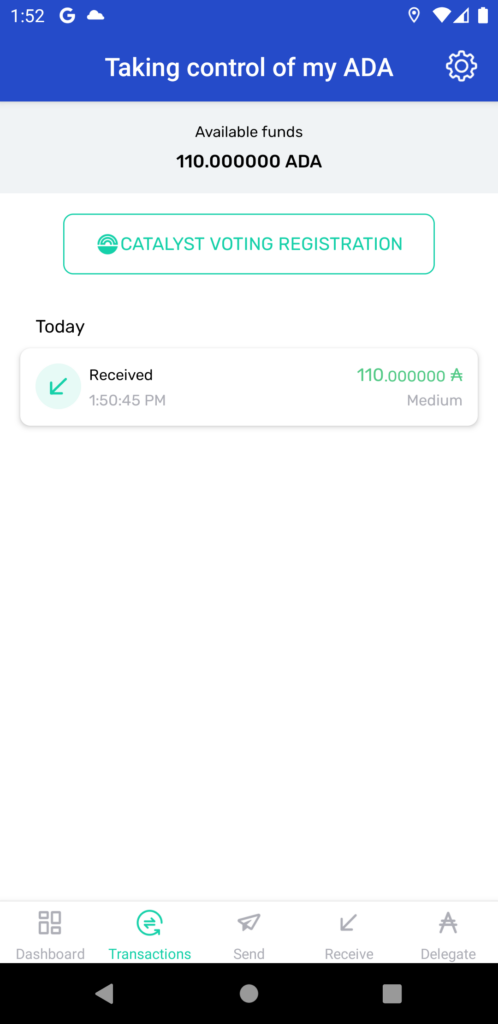
After sending your funds to your own wallet, it might take a few seconds to minutes for them to show up under your transactions. The time it takes will differ per exchange.
From this point on, you are in control of your ADA. Whatever happens to an exchange, your ADA will always be in your control. Just be sure to keep your recovery phrase private and your device secure.
Delegating
Cardano relies on decentralization to be secure in the long run. The more people/organisations that are making blocks, the more secure it will be. Block creation on Cardano is done by Stake Pools. Anyone can delegate their ADA to a stake pool and strengthen the network.
I have written an explanation on why you stake which you can find here. It boils down to the following:
- Your ADA never leaves your wallet
- Your ADA is never locked up, you can always send it
- You will earn interest on your ADA by delegating to a stake pool!
The Cardano network has been designed to be secure-by-design. Even if a Stake Pool operator is malicious, they will never be able to get your funds. They might reduce your rewards by changing the rewards parameter, but it is not hard to notice htis. In the article on Why stake? I explain how to keep track of your pool. Choosing a reliable Stake Pool is important, keeping track of them periodically even more so.
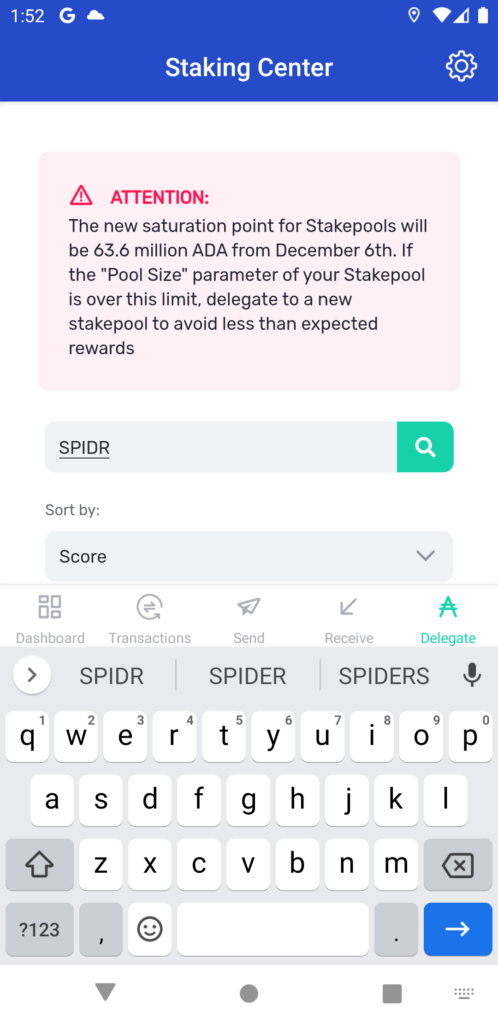
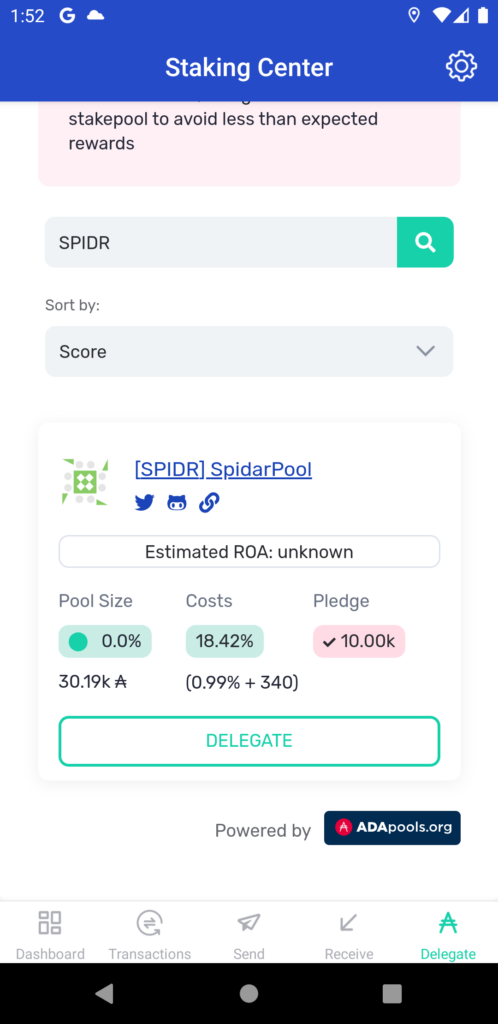
If you would like to help strengthen the network, go to the Delegate tab. If you would like to stake with SPIDR, enter SPIDR in the search box. By delegating to the SPIDAR pool, you are helping strengthen digital privacy. Our fee is low at 1%. These fees are used to pay for running the Stake Pool.

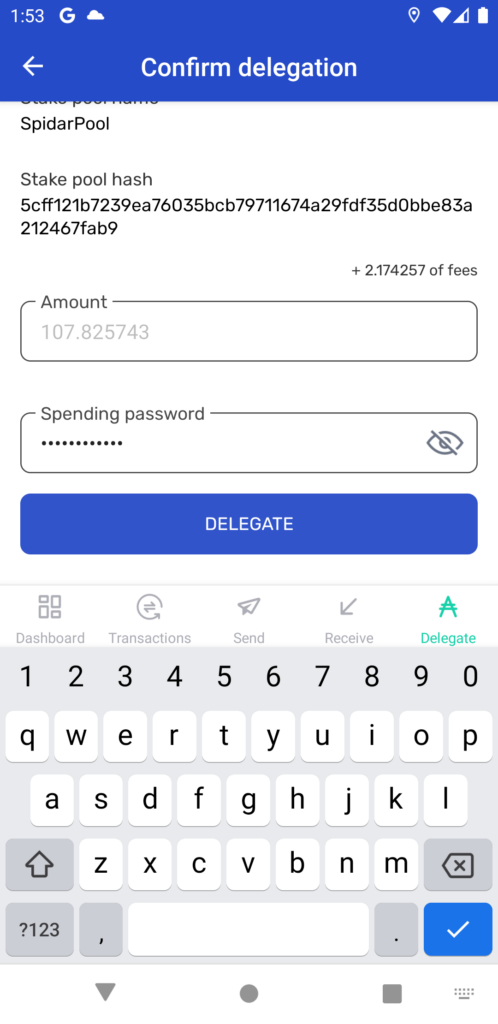
In order to delegate you will have to pay a fee of 2 ₳ + transaction fees. This is just a one-time fee for delegating which will be returned if you decide to unstake in the future. If you receive more funds in your wallet afterwards, they will automatically be included in your delegations!
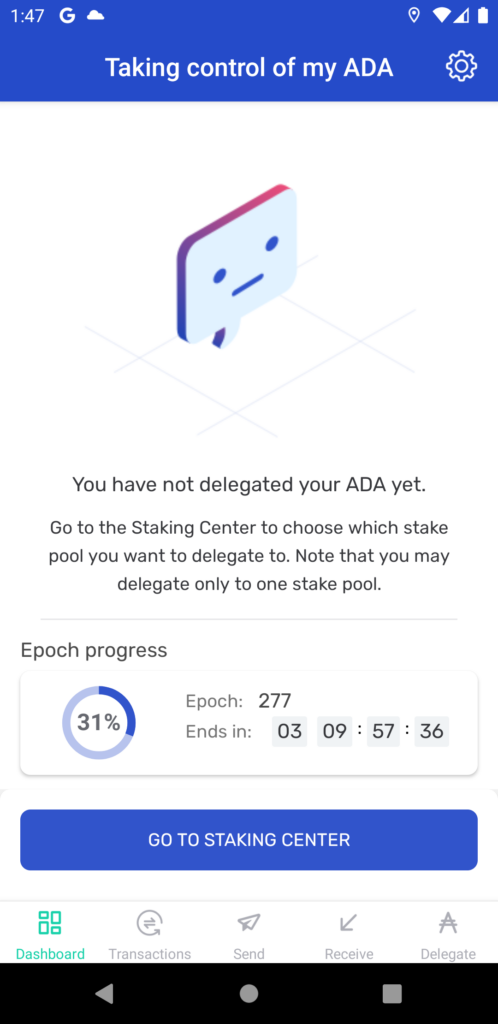
If you click on Dashboard, it will show you an overview of your funds and what pool you have delegated to.
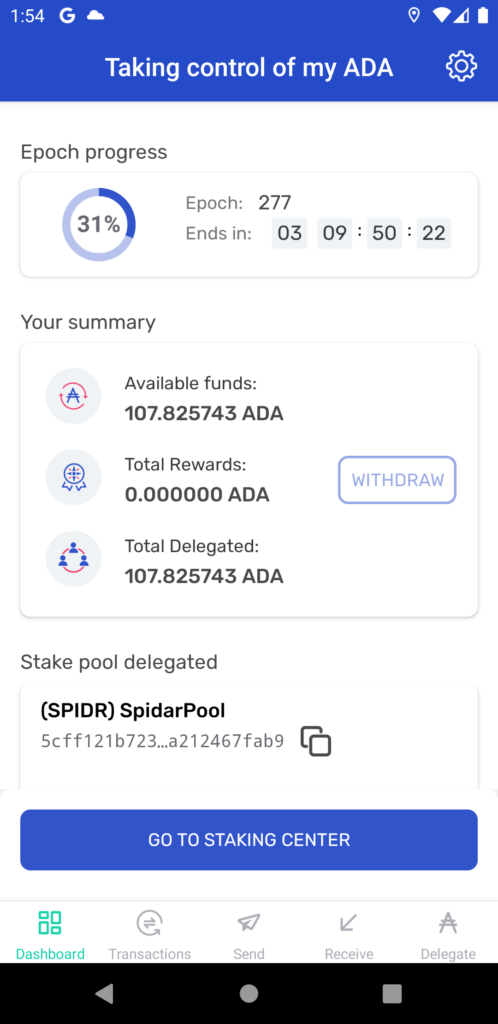
Cardano works in terms of “epochs”. An epoch lasts 5 days. If you delegate in epoch 277, your stake will become active in epoch 279.
Rewards over your staked amount are calculated based on the number of blocks a pool creates and will be calculated in the following epoch, so epoch 280 for the rewards of epoch 279. Payout occurs in the epoch after that, 281.
All in all, it will take 15-20 days before you can expect your first rewards when a pool is making blocks regularly. Rewards will even out around 5% ADA per year in the long term.
I hope you find this guide useful. If you have any questions, feel free to reach out on Twitter or by e-mail!